
Becoming a Dryad: My new most comfortable cosplay?

Last year for Ren in the Glen I was asked to help out on the fairy court, specifically with designing costumes for the fairies! Not long after that, the volunteer coordinator came up with a really fun idea to make a Dryad Quest for patrons to participate in. I dived in head first to help out with that since I had already planned on making a dryad character! I offered to design the costumes for all of the dryads and help them make decisions when planning their costuming.

Costume concept:
I wanted the costumes to be similar but different to the rest of the fairies, so that we would be easily recognizable for the quest. I started with going back to the ancient Greek origins of dryad mythology and asking the dryads performers to start with a Chiton base to their costume. The accessories, and even how the chiton is cut and styled, was up to everyone's personal interpretation, I just wanted us all to have the same silhouette. I also asked everyone to stick with natural fibers; this was important for managing the hot weather during the weekend. Their costumes were incredible! I was blown away by all of their creativity.
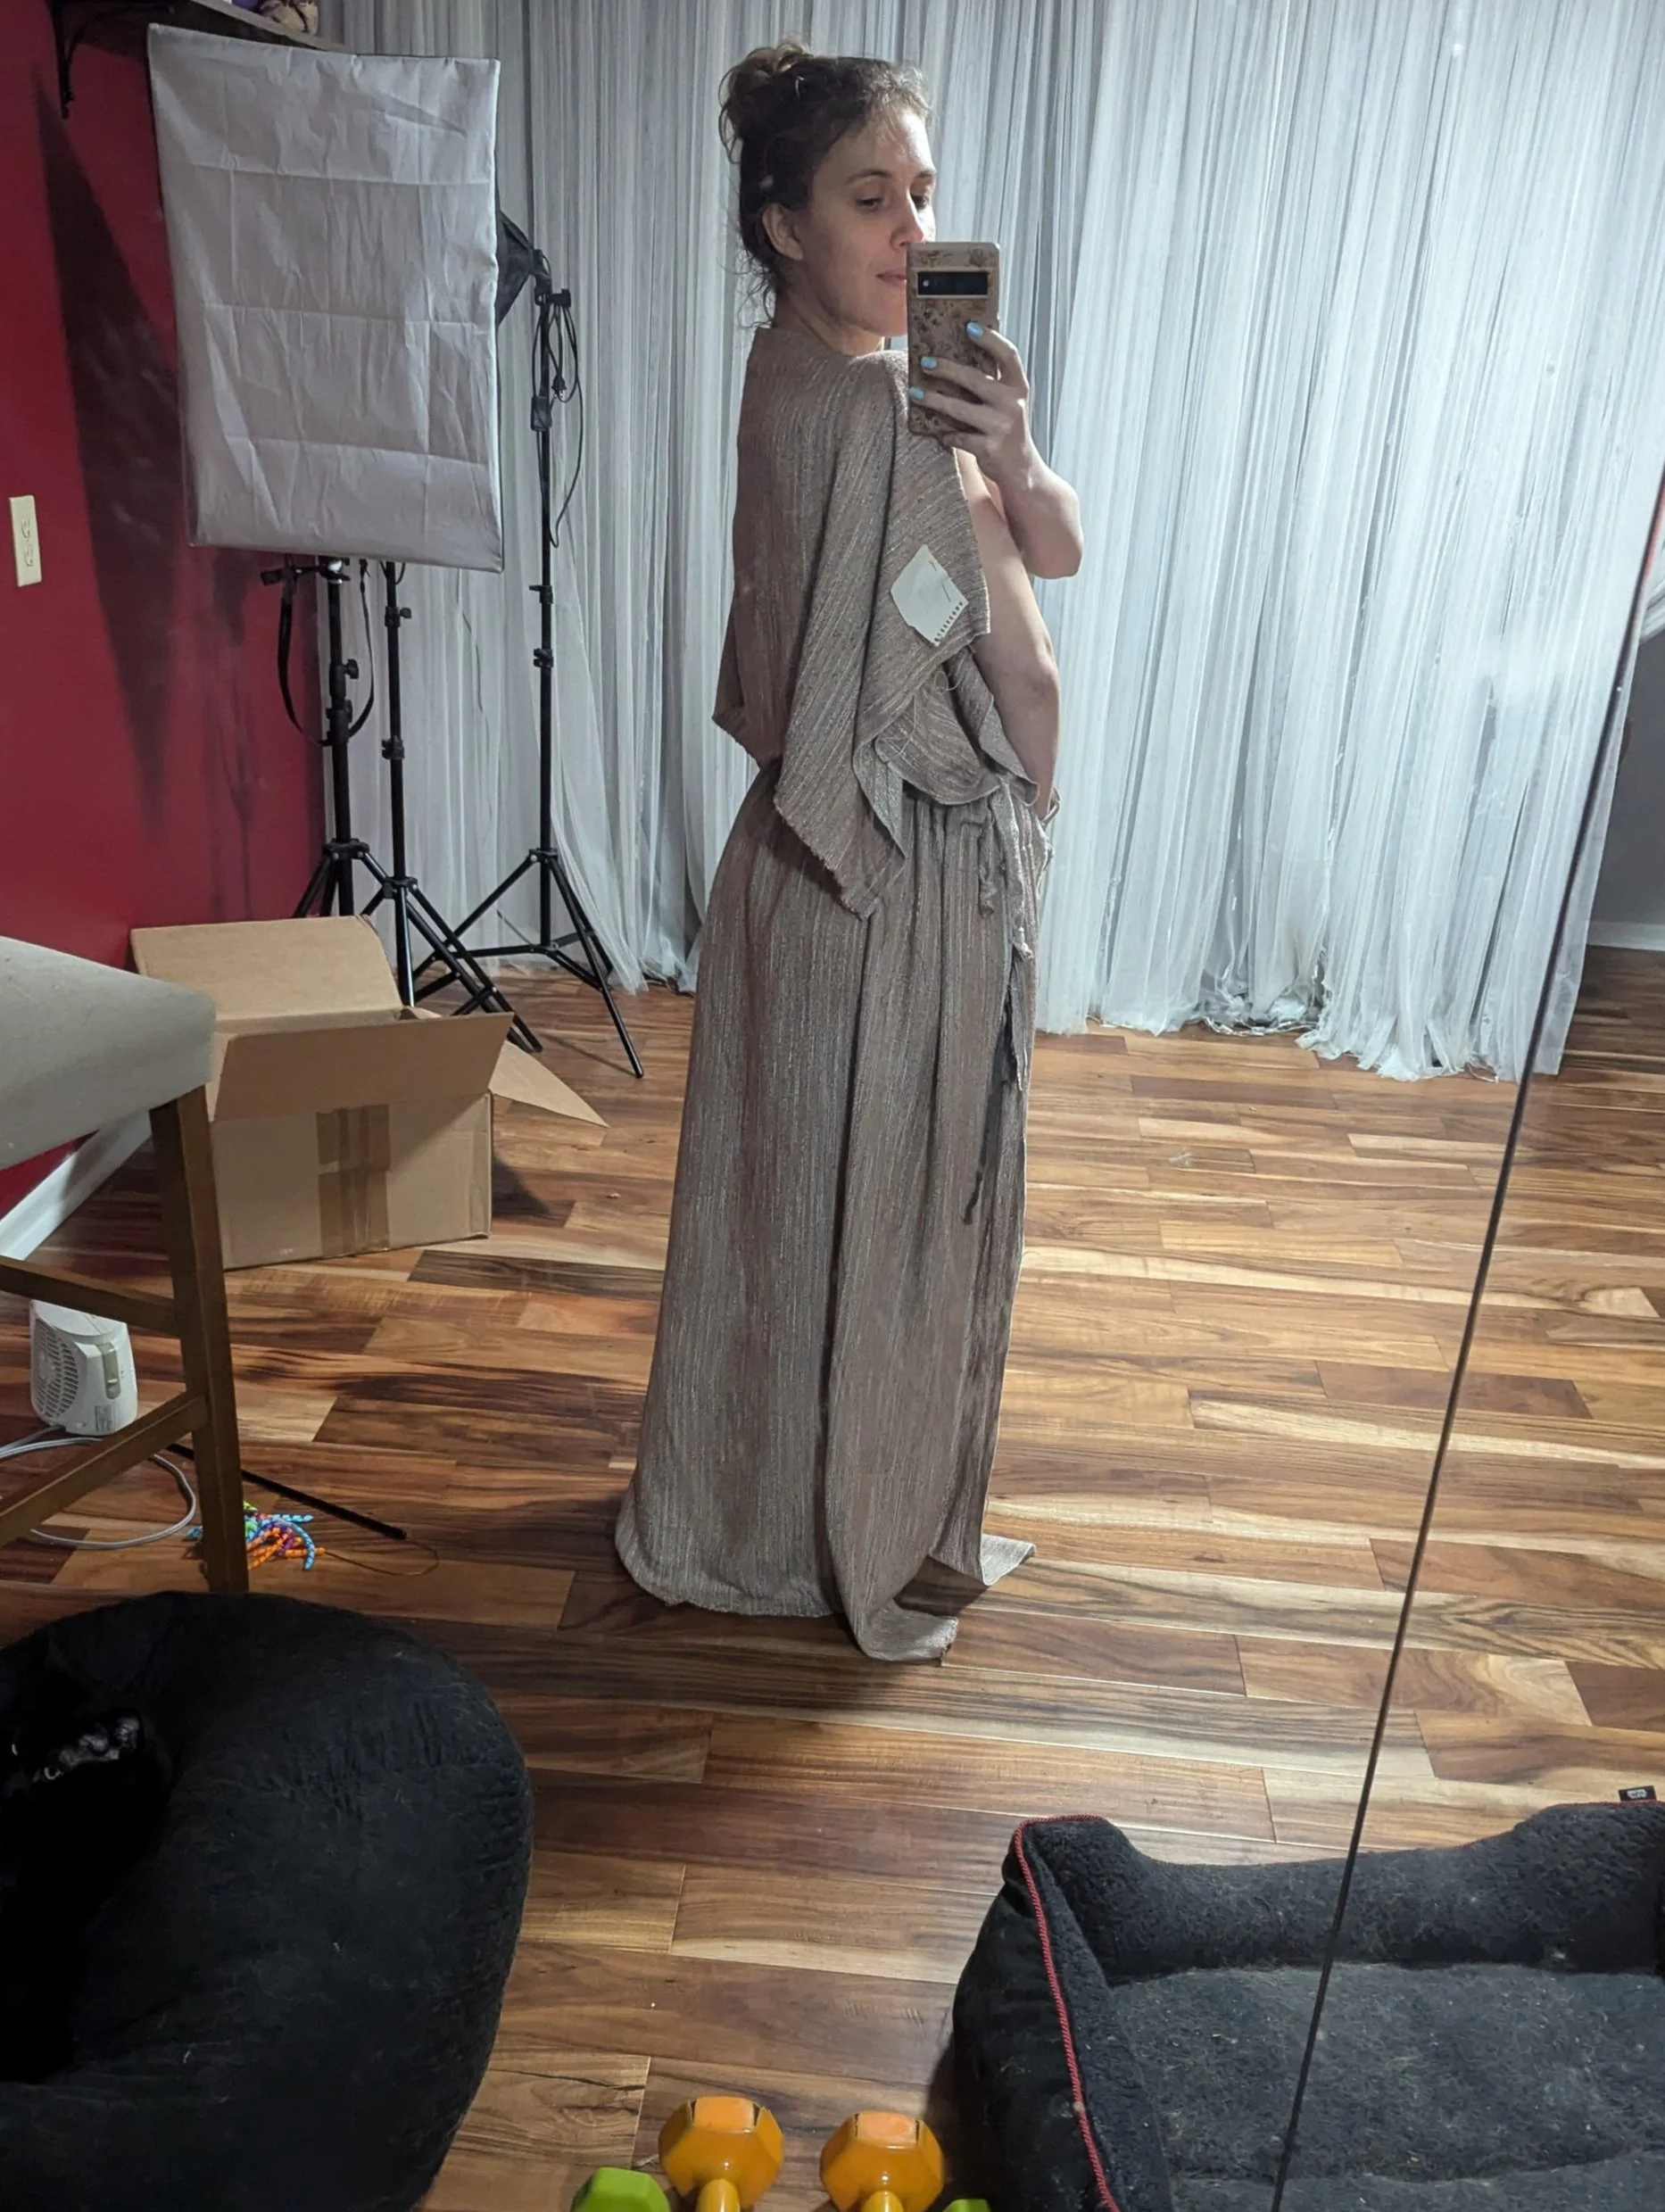
My Costume:
For my own costume, I started by ordering some lovely fabric from my favorite online crafting thrift store Swanson Fabric. I found a really pretty woven rayon that had tree bark like patterns, and a heavy upholstery cotton fabric that had green and brown leafy embroidery on it.


I wanted to make a doric chiton inspired garment using the bark-like rayon. However, I tragically discovered that the fabric shrunk after I pre-washed it! I moped around disappointed for about a day, when I got the idea to make my chiton have 4 panels. There would be a separate font and back piece. Each piece would have a folded over top half, giving it a kinda flap. The bottom half would be attached so that it overlapped 2 inches of the bottom edge of the top (near my waist), creating a casing for a draw string, which would gather the chiton to help it look a little more flattering.
Because I wanted the chiton open at the sides, I designed a sheath dress to go underneath it. I cut out what I needed for the sheath dress, and then cut the remaining fabric into the 4 panels I needed to make the chiton. I finished the side seams for the sheath dress, pinned it together, tried it on… and I had measured incorrectly… it didn't fit around my hips and butt… I set that aside for a few weeks and focused on the main part of the garment.

When I hemmed the edges of the failed sheath dress pieces, I did not love how stiff the seam got. I really wanted this chiton to have flowing edges. Rather than use my machine to finish the edges of the main chiton, I chose to instead blanket stich around the raw edges of the long sides of each rectangular panel with green cotton yarn (also from Swanson, but purchased a few years ago). The selvage edges of this fabric look cool and don't fray, so I left them as is. Working on the raw edges of this chiton became my favorite evening couch project throughout this costume build. Once the long edges of all 4 panels were finished, I started measuring the top panel to see where I wanted it to fold over, and where I wanted to attach the bottom panel. I ended up having the fold be 18in long, both because it covered the waist casing, and because my favorite sewing ruler is conveniently that length. I used sewing clips to mark the fold in center front and the attachment points for where the front and back of the garment met.


This fabric has a right and a wrong side. One side has a more silvery satin finished look, and the other has a more matte bark-like look. This meant I had to be careful of how I sewed them together when I attached the bottom panel to the top panel. First I measured how high I wanted the top of the waist casing to be (about 14in up from the lower edge of the top panel) marked it, and flipped my bottom panel so that the silver side of both panels was facing up. I did a very strong overlock stitch across where I marked for this seam. When I flipped the bottom panel back down, the bark side was facing up, and the top panel had the silver side facing up. But when I folded the upper edge of the top panel down to drape over the casing, the bark side was facing out. It sounds a little more complicated than it is, but suffice to say I made it work and the bark side was facing out for the entire garment. To finish the casing, I marked out 2.5in below where the bottom panel attached to the top panel and removed 12in of extra material from the lower edge of the top panel. This edge I folded under whip stitched closed, completing the casing.

From there I brought my front and back sides of the garment back upstairs and crocheted a lacy-leafy edge along the full length of where I had hand sewn the edges. This was the most time consuming part of the entire project. It took about 8-10 hours to crochet each of the 4 long edges, but the end result is so worth it and has a really great fluttery leaf-like look.
I worked on accessories at different points throughout the process, particularly when I needed a break from sewing! I crocheted a bunch of different plant leaves to dangle around the costume. Some from the shoulders and some from the belt. I made little dangly leaf earring that I had been envisioning for years but never got around to making, I LOVE them and they will be added to my regular rotation of earrings as well.


I hadn't originally planned on making a belt, but a particular elven belt pattern kept coming up in my pinterest scrolls. While sewing the unplanned belt was more than I wanted to do, I had the idea to crochet a belt in a similar shape. I also determined that some of my large cones of yarn were wool! I experimented with a technique called fulling (but more colloquially called felting), where you crochet or knit a design out of certain types of wool, and then put it in the washing machine on high heat and high agitation. The heat, plus soap, plus agitation causes the wool fibers to shrink and become more attached together, making the crochet pieces smaller, stiffer, and basically into wool felt!


I made up a couple of swatches to test out the process with 2 of my wool yarns. One of them felted perfectly and I was even able to kinda estimate how much shrinkage to expect. The other one did not really felt at all, giving evidence to needing certain kinds of wool to felt properly. So using the wool yarn I knew felted really well, I made up a pattern that looked a little like the tabard belt I was inspired by. I sized it using a little bit of estimating and a little bit of hope, and cobbled together two pieces that I thought might be a good size. Another thing I learned about felting crochet pieces is that it's very important to dry them in their final shape, because whatever shape they dry in (wrinkled or not) is the shape they will stay in. Once I pulled the felted pieces out of the washing machine, I took them directly to my craft room and pinned them to my craft table (it has a quilting cover on it, so I could pin into the soft material), stretching it into the shape I wanted it to be in once it dried.


And oh my goodness it worked!! The belt fit pretty perfectly, it hung at a nice length, and it dried into the shape that I wanted it to be in, I even preserved the details of a pretty granny square pattern I added in to it.
So it was finally time to get back to working on that under dress. Using the cotton fabric with leaf embroidery, I attempted to add 2 panels on either side of the dress. I hated it. I hated everything about this under layer. So I walked away from it again, had a good sulk about my project not working, and then went back to pinterest to come up with some ideas.

Apparently I took ZERO photos of the under dress process. So here’s what the embroidered leaf fabric looked like!
I eventually landed on a 2 piece look for under the chiton using the leftover fabric I had cut for the dress and the remnants from the top panels. For the shirt I just attached the 2 selvage pieces together much like a chiton to make a flowy crop top. However when I tried it on with the full chiton, it was far too bulky, so I scraped that top and used an existing crop top for Ren in the Glen. However the skirt went together much easier. I took the 2 panels I had made for the failed underdress and cut them both in half. I sewed the sides of the panels together and then blanket stitched the top edge of the skirt similarly to how I did the chiton panels. I ended up doing a crochet waistband for the skirt, which made reducing the circumference to my waist measurement a lot easier because I could just drop stitches gradually each round. I completed the skirt by weaving in a cotton ribbon and was happy enough with that!

This costume ended up being very comfortable to wear all day at Ren in the Glen. It was basically a blanket for chilly mornings, and in the hot July afternoons wicked sweat away from my body. HOWEVER, I learned that the green cotton yarn bled ink after removing my skirt and finding a green line around my entire torso. It washes off easily enough and it did not stain the rayon when I washed the skirt, so hopefully it will not bleed green ink the next time I wear it!
I will eventually finished the two piece idea by finishing the raw edges with a crochet border. This will make the costume very versatile. Speaking of that, I have already repurposed this cosplay for a Korok look! I can't wait to see what else I come up with for it.