
Doing Too Much for a Needle Book

The way my brain works, sometimes one project leads to another project, and the first project cannot be completed until this second project is done… This is how putting up a pegboard in my office turned into spending 3 days hand embroidering the cover of a needle book.
There's a thread of logic behind this silliness. While deciding where to place different types of tools, I realized that my hand sewing needle organization was pretty awful. I could have maintained my haphazard needle set up, however the packaging that holds some of needles that I needed to have labeled (like my leather needles, or my cross stitch needles) were too big to fit in the containers I was putting on my pegboard. I had been wanting to make a needle book for a couple of years anyway… so it was VERY easy for me to convince myself that this sewing project took priority over the stressful process of setting up my pegboard and reorganizing my craft room.

It was at this point in my pegboard setup that I pivoted entirely to the needle book…
Patterning, and Page Making


I did not follow any particular tutorial for this project. I found a few inspiration pictures on Pinterest and mostly patterned it myself. To begin with, I took a small unicorn printed flannel remnant Z got from our local "Buy-Nothing" group last year, and figured out how many "pages" I could make from it. I did "fussy cut" this fabric a little bit so that I could have as many unicorns on each page as possible, and ended up with 5 rectangles. Four of these rectangles became the pages (2 rectangles per page), and the 5th I used for the cover. I placed the two side of each page with right-sides facing out and did a simple blanket stitch around the edge to keep the flannel from fraying. Because I was folding these pages in half, and one was going to encompass the other (and because I didn't measure particularly well) I chose the slightly smaller rectangle for the innermost page.
Embroidery
Next I turned to the most time consuming part of this project. I originally thought it would be fun to embroider a couple of the flowers on the cover of this book for texture. But one thing led to another and suddenly I was embroidering a lot more than 2 or 3 flowers!
I began by cutting out some flowers and a unicorn from what was left of the flannel and appliqued them to their matching shapes.
For the white flowers I used a chain stitch on stems and French Knots for the flowers. Next I did the blue flowers with a satin stitch, and the pink flowers with lazy daisies. I wanted to try another new stitch for the green flower and used a stem stitch for that.


Here is where I deviated from my plan… I was not originally going to embroider on the appliques, but I started with a chain stitch on the petals of the larger pink and white flower. Which led to filling in the white petals with a satin stich and… "well I could add a couple of French knots to the middle… The unicorn looks a little empty now so what if I just filled that in with satin stitching?"
The unicorn took most of my time, not just because it's larger, because I ended up doing something more akin to thread painting. I wanted the mane to look like hair, and I wanted the body to look like fur. So I pulled my dormant horse girl energy out and thought about horse musculature when deciding where to place each stitch. I did not look up horse musculature however… So if it's a little wonky blame my memory! I'm happy enough with it as is. I finished the unicorn off with a green glass seed bead for the eye.
Lining the Cover and adding pockets


I needed to make a back for the cover of the needle book. After looking through my scrap fabric stash I settled on a green stretch velvet from a past dance costume. Yes, sewing stretch fabric is doing this on hard mode, but I liked the color and it was available in my scrap bin. I traced the embroidered flannel onto the green fabric and left some extra for the edges. I was originally going to do the standard sew it wrong-sides-out, and then flip it in-side-out so the right sides are facing out again… however I embroidered right up to the edge of the fabric, and I didn't want to cover any of my hard work. I made the green fabric about half an inch larger from all edges and folded them over to encase the edges of the flannel, but also give a border for the cover. I whip stitched that to the flannel and did not end the project there.
I put so much effort into this little needle book already, so I really wanted to make this a tool that I would use all the time. For me that meant adding pockets for other sewing tools. I used the rest of the green velvet and sewed two sets of pockets for the front and back of the inner cover. The largest pocket opens to the side, and the other two pockets open towards the top, one tall and one short pocket. I chose to hand stitch the pockets to the inside of book cover.
Finishing touches
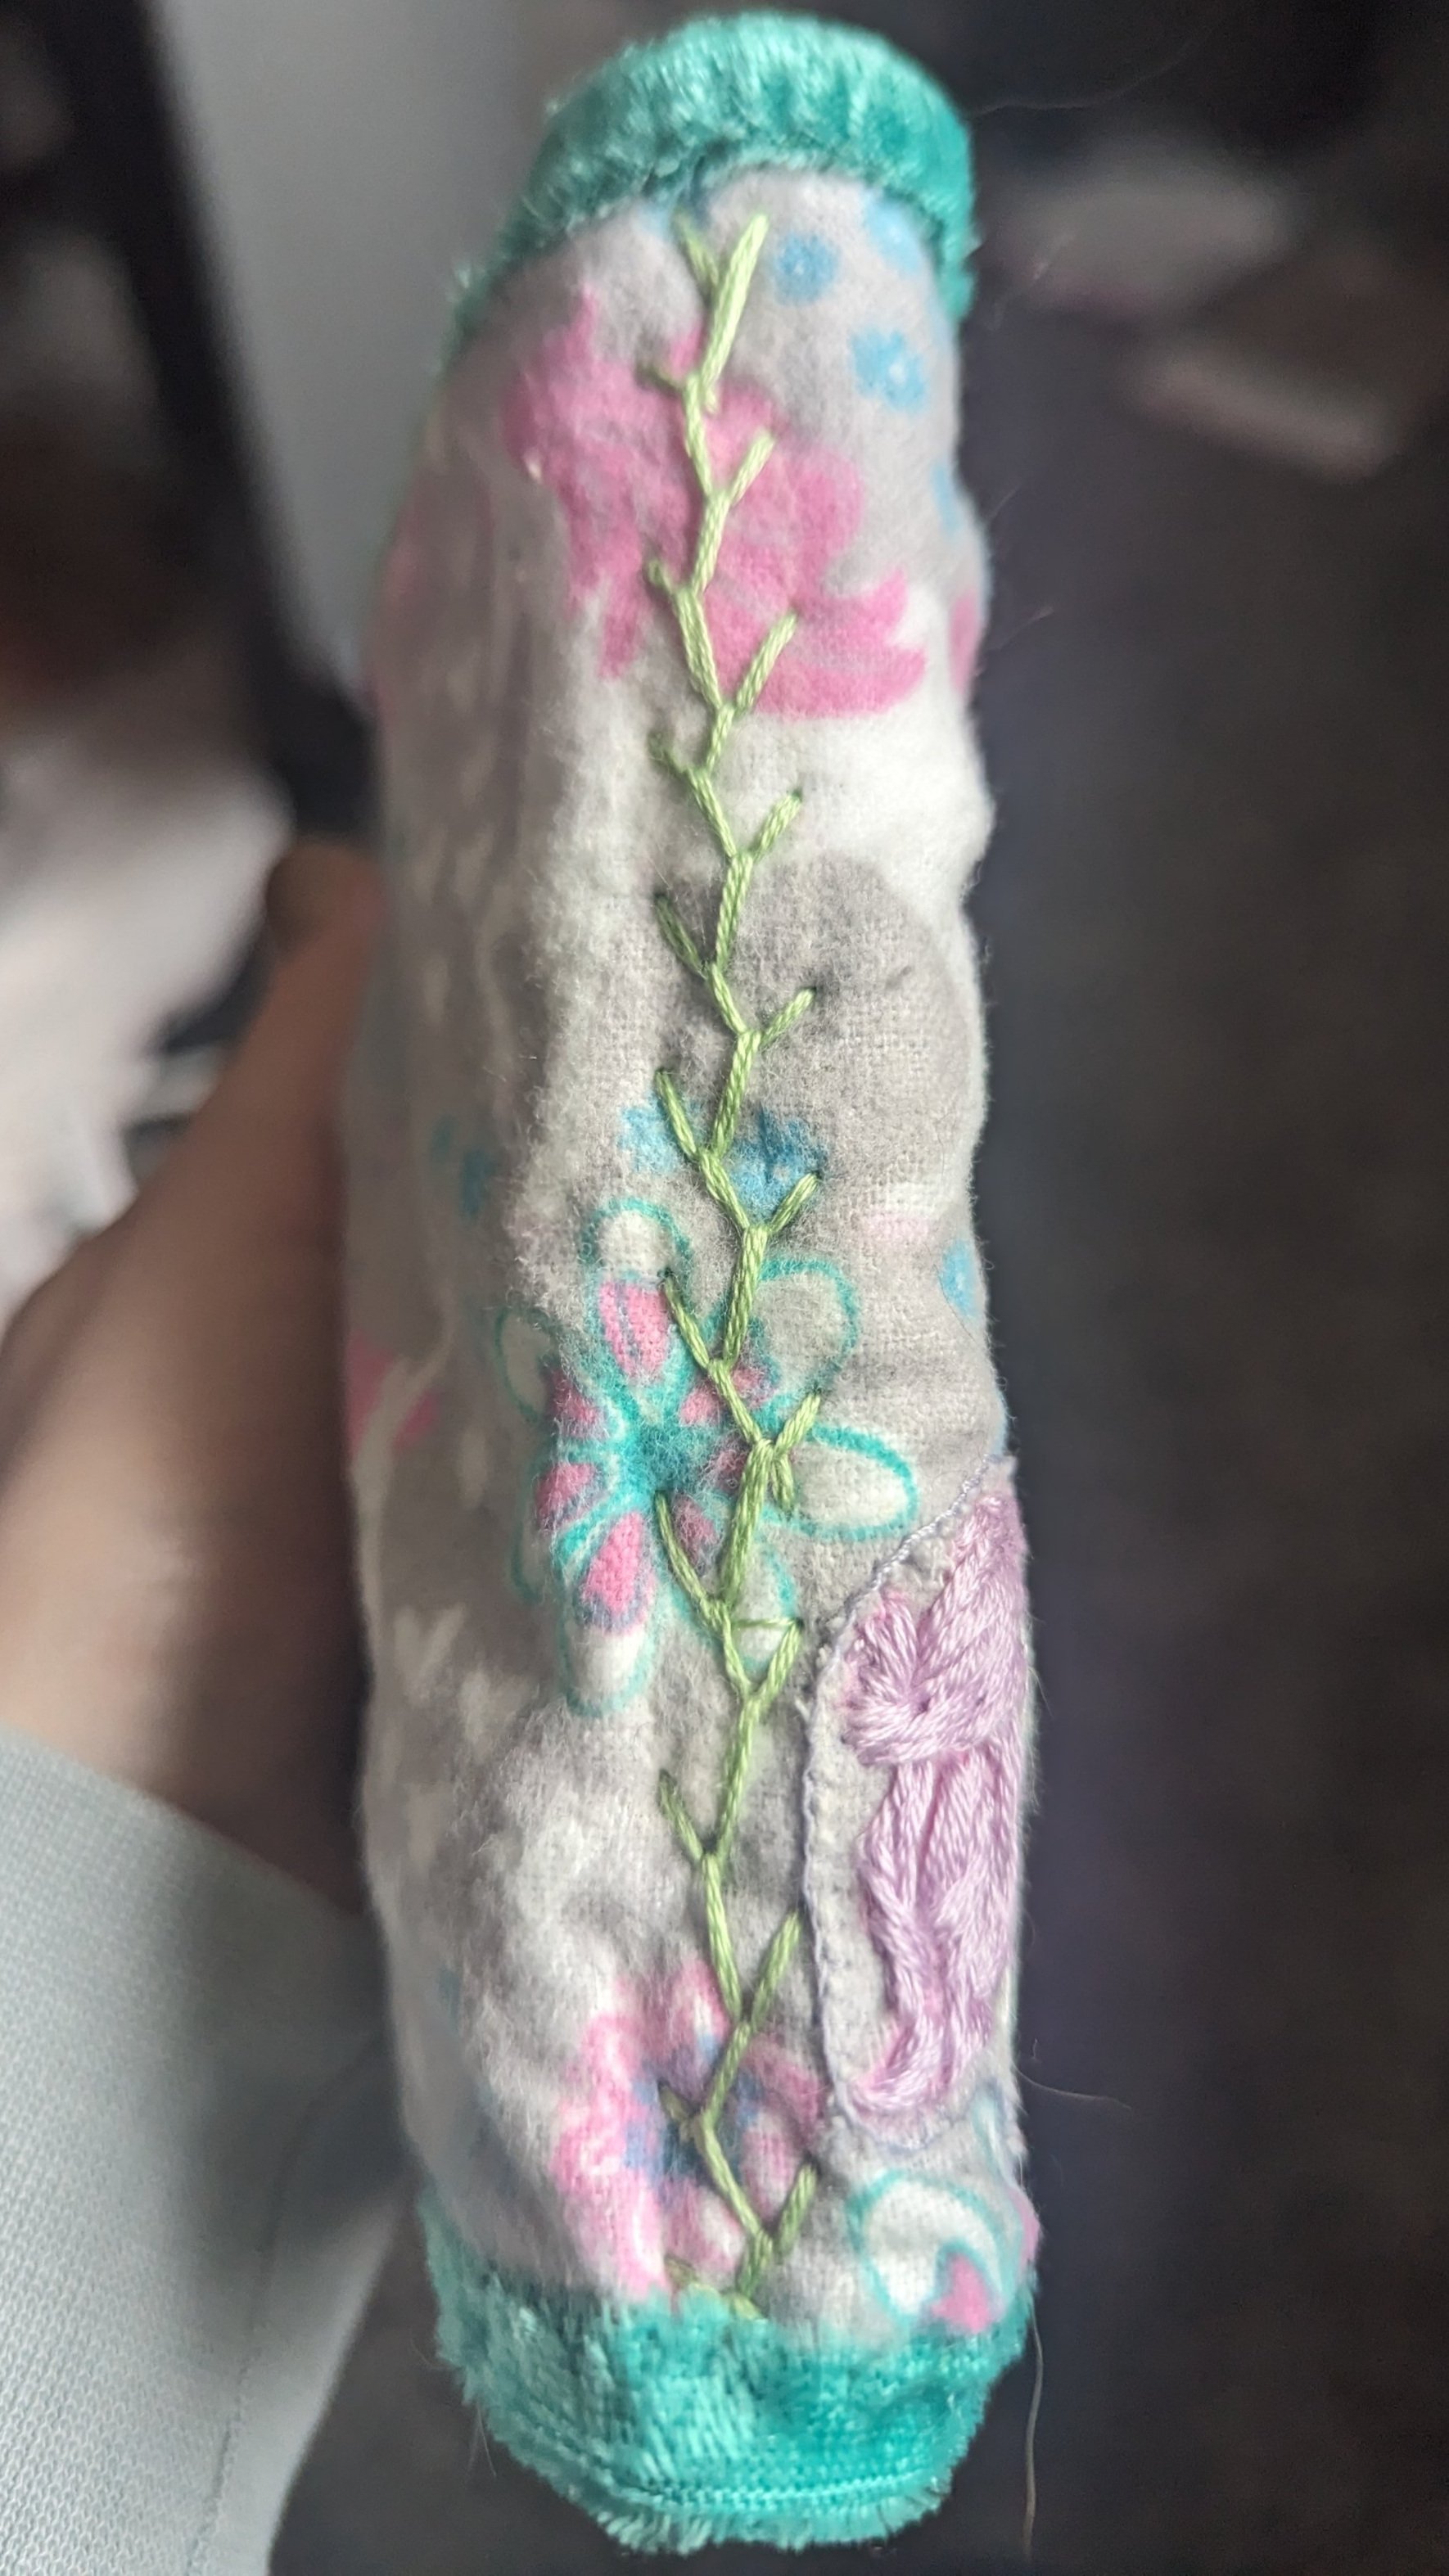
Once I added the inner pockets it was time to bind the pages and cover together. I could have done this the easy way with a chain stitch or a back stitch, but I really wanted to try once last embroidery stitch. I chose the feather stitch for this, and I love the look of it. It makes the "spine" of the book a little wider, and I think it's pretty cute from the outside. The little diagonal stitches on the inner pages look nice, too.

So now I have the MOST extra needle book, and I am very happy with this silly side project. I think it was exactly what my brain needed, because the rest of my pegboard came together quickly and without any other additional side projects!

My completed peg board! The needle book helped… I swear…